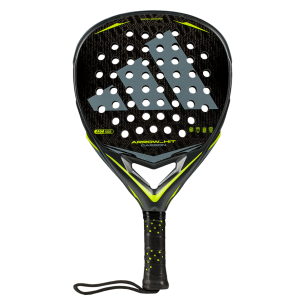
How to put on an overgrip
In today's post we are going to tell you how to put an overgrip correctly. The overgrip is the tape that goes over the original grip. It help us to increase the thickness of the handle, gain grip and avoid breaking the original. To put an overgrip we have several options, although we are going to explain the most common. We will have to take into account which is our dominant hand. If we are right-handed we will turn it to the right, while if we are left-handed we will turn it to the left and keeping the handle of the racket upwards, we will always keep in mind that the racket will be placed that way.
Put the overgrip on and hit the court!
- Firstly we have to go to our usual store and buy a pack of overgrips. When unrolling the overgrip and removing the protective plastics, we will find a sticker to close the overgrip at the top. We have to start with the one with the sticker. We remove the paper and place it on top of the handle.
- Secondly we will continue to go around the upper part in a linear way, without descending towards the racket until the step where the overgrip reaches its normal size.
From there is when we will begin to go down towards the center of the racket spinning. This is one of the points where the user can place the overgrip according to his preferences. In this route, if we want the grip to be fatter, we will make these turns leaving a smaller space between them. If we want it to be thinner, we will leave a larger space between them. When we reach the end of the handle we will see how the overgrip becomes thinner again, we have to take into acount that at the time of placing the sticker, the size of both adapts perfectly. We will place it in the final part closing the process and leaving the overgrip fixed for the game. And now, we are ready to enter the court. Everything is a matter of practice, little by little you will be improving your technique and each time you will be getting better and better until you become an expert.
